Poor Forms = Poor Results!

For small slabs, you may use a wheelbarrow and shovel, however, renting a concrete mixer can make the manner less difficult. For large slabs, your concrete arrives in a special blend truck. In case your concrete arrives in an equipped blend truck, the drum at the back of the truck could be spinning to preserve the concrete from settling and getting hard.
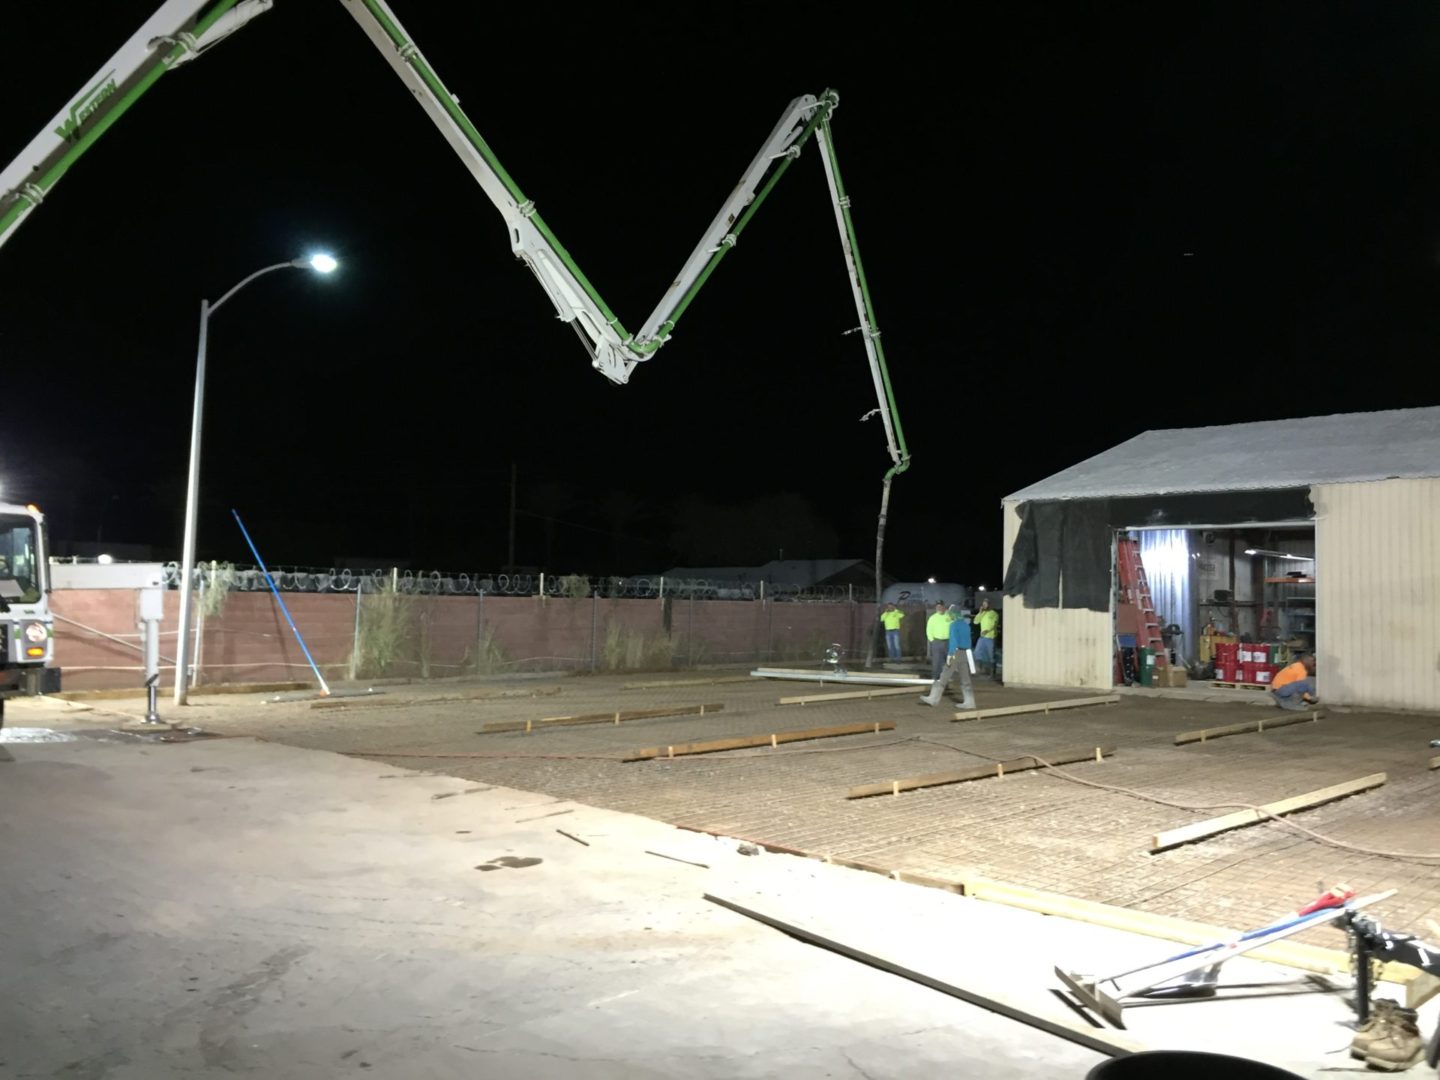
Pour moist concrete into the forms until they are full to the pinnacle facet. While the wet concrete is being poured, use shovels and rakes to transport the concrete to make sure there aren't any voids or air pockets. After the concrete is poured, you’ll need to use a screed to level the concrete. Drag this board across the threshold boards, making as many passes as you need to level and flatten the region successfully. Have a person on standby to help you upload or dispose of concrete as needed. At this point, use the screen to finish leveling it out, afterwards you may use a bull float for flattening your concrete out.
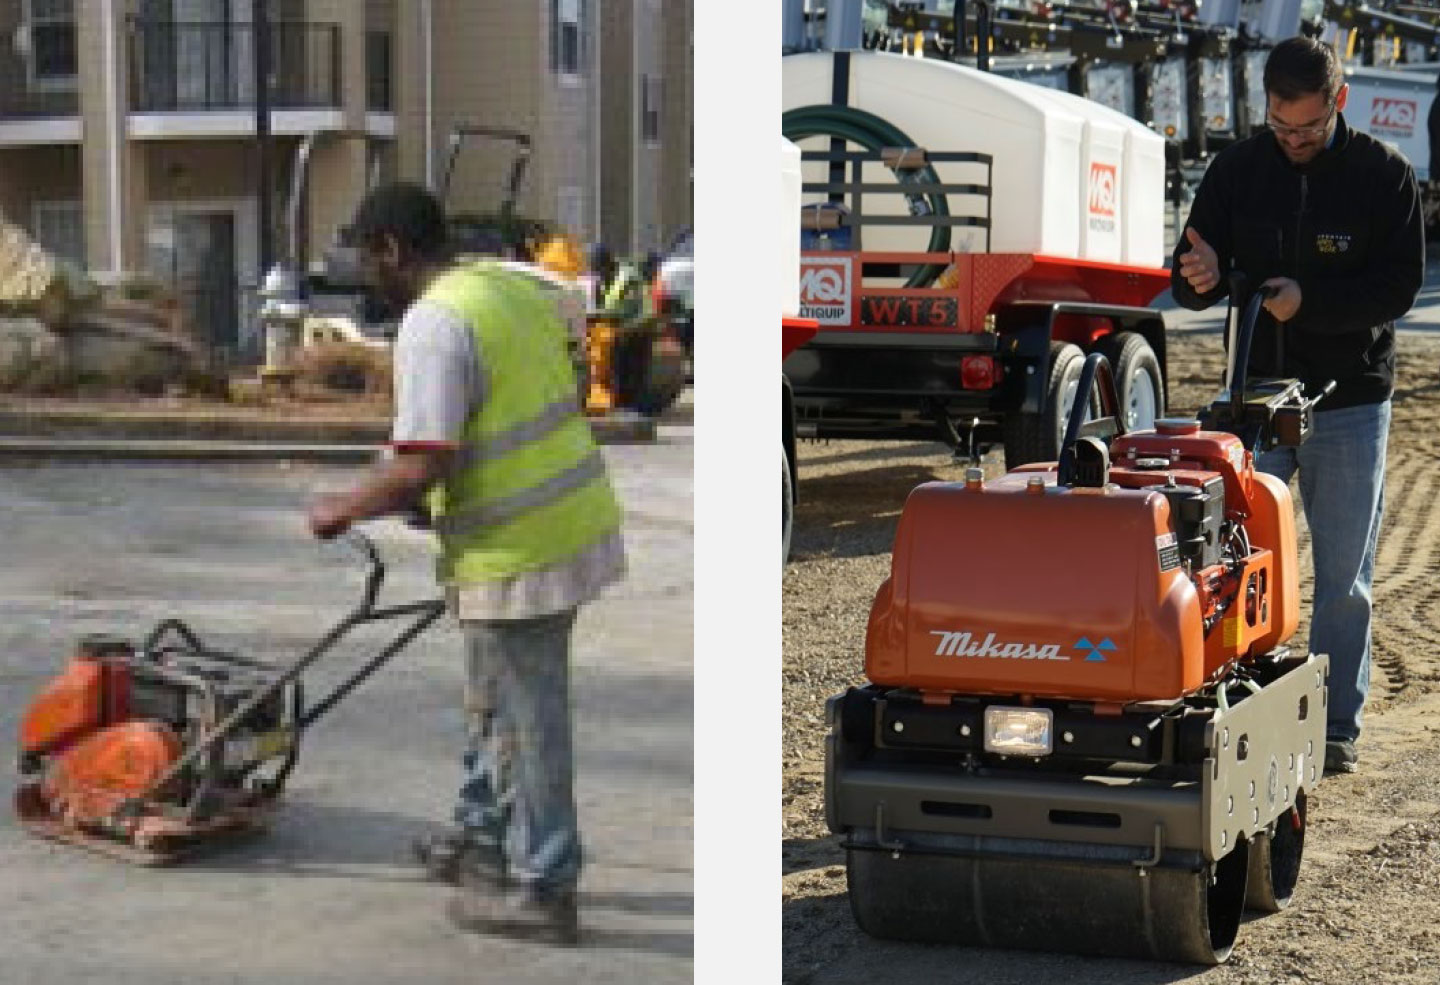
Screeding enables compact and consolidate the concrete, and begins the smoothing and leveling system. Subsequent, use a go with the flow to in addition compact the concrete, even out any high or low regions, and create a clean finish. Small hand held floats are good for edges and detail paintings, big bull floats are excellent for operating large areas. On the equal time, paintings manipulate joints and edges into the concrete with special hand gear. You’ll want your slab edges to be rounded off. The usage of an edger, run alongside the brink of the concrete as quickly as any surface water disappears from the concrete. Paintings the edger round until the threshold is stable, easy, and starts offevolved to maintain its form well.
When cures and finishing aides are applied directly onto the slab and worked in with a power trowel to reduce permeability increase surface density abrasion resistance and improve wear characteristics by creating a 27mm barrier that retains 97% of the water in the slab which ultimately eliminates volume loss cracking and curling.

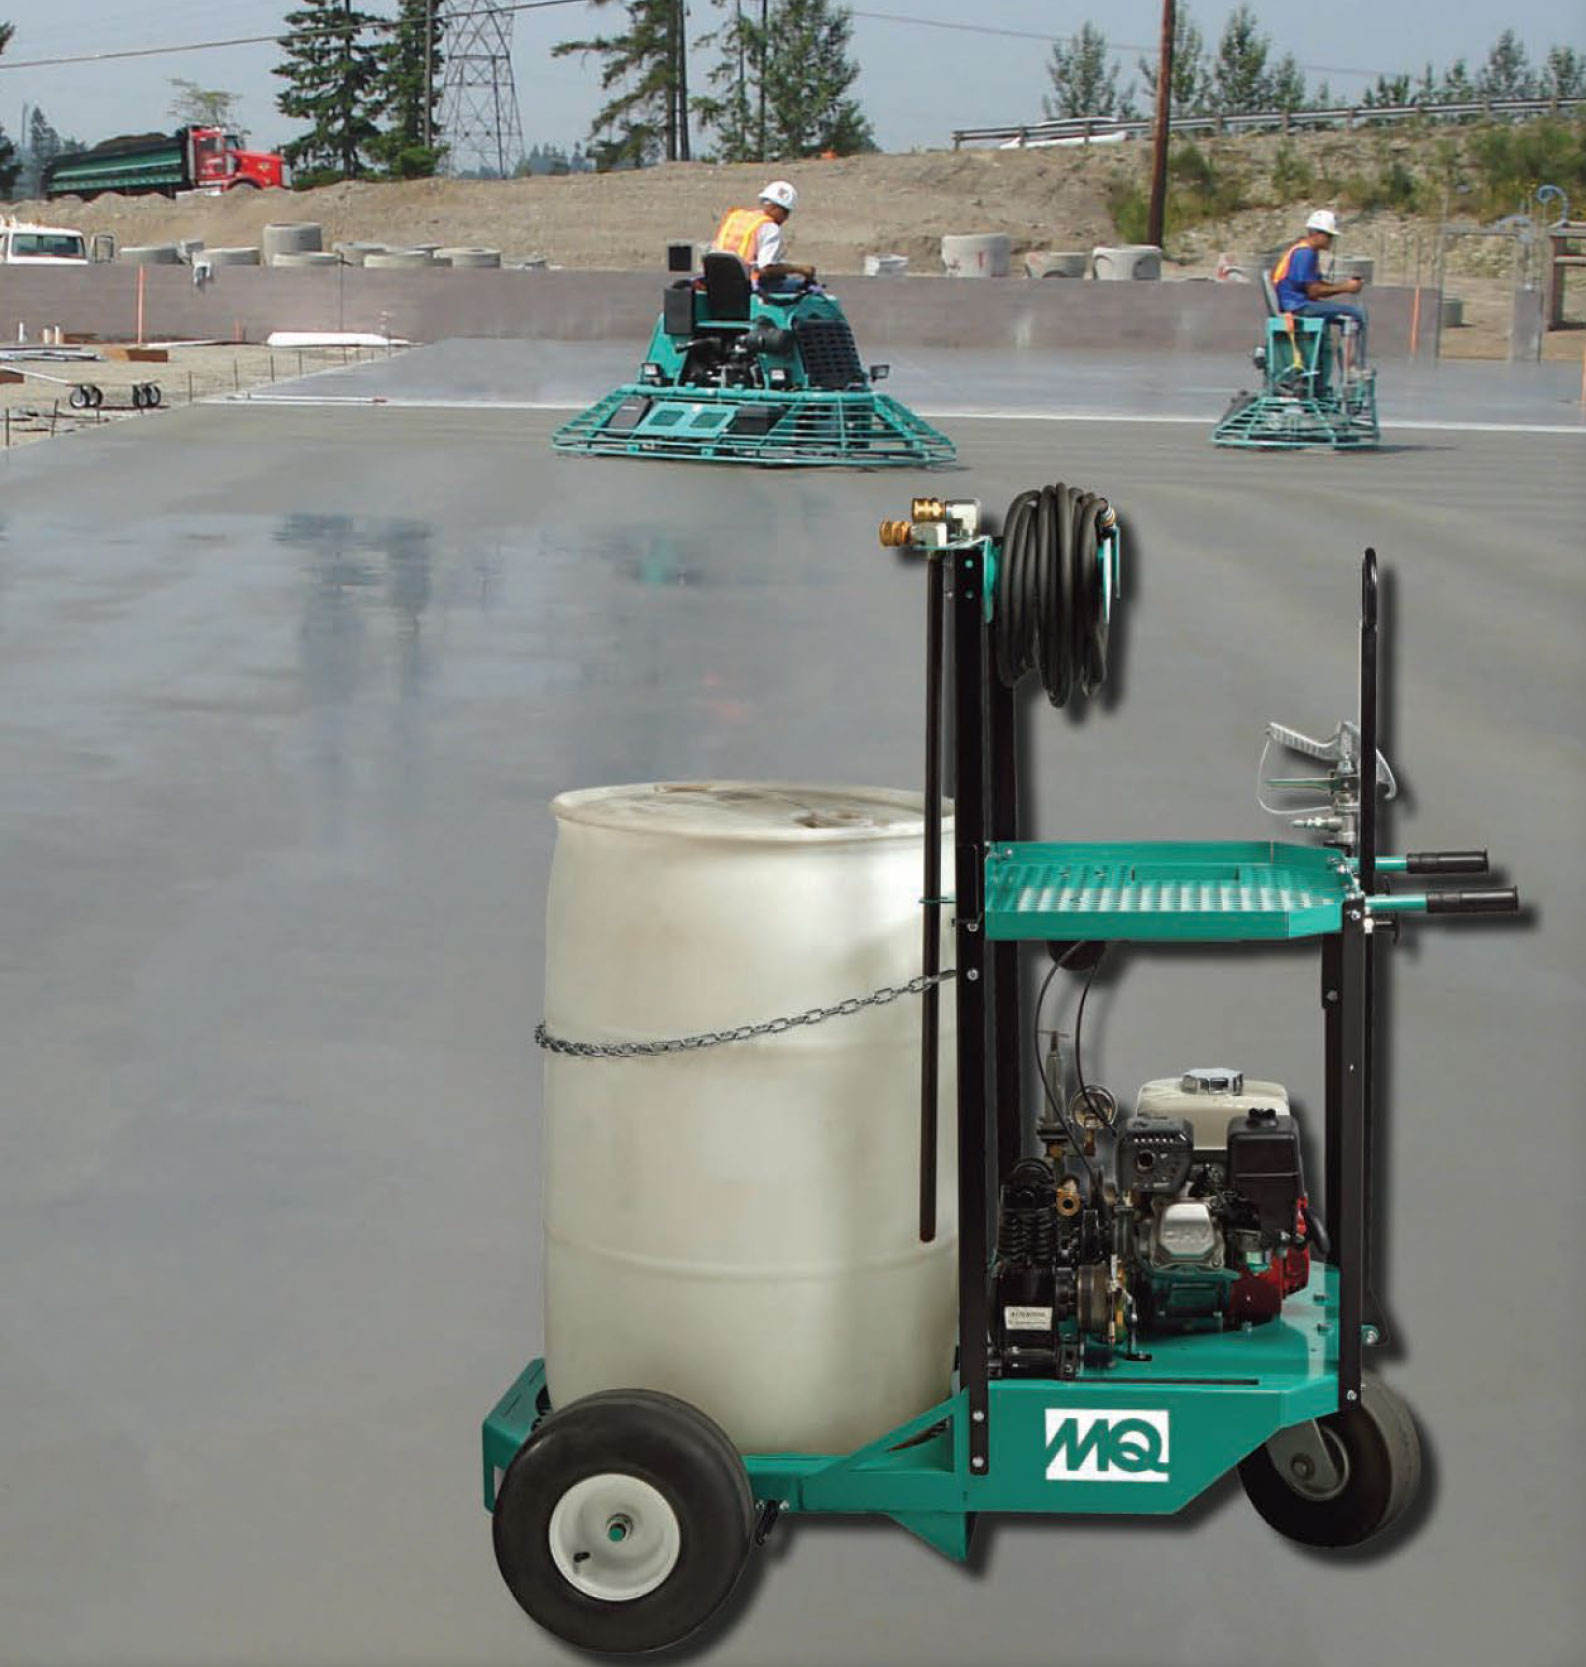
Power troweling is a common and viable way to ensure your concrete finishes a hard smooth dense surface. Power trowels have specific operations and should be used correctly for the best results.
To view additional information on power troweling including good operational practices, click here.
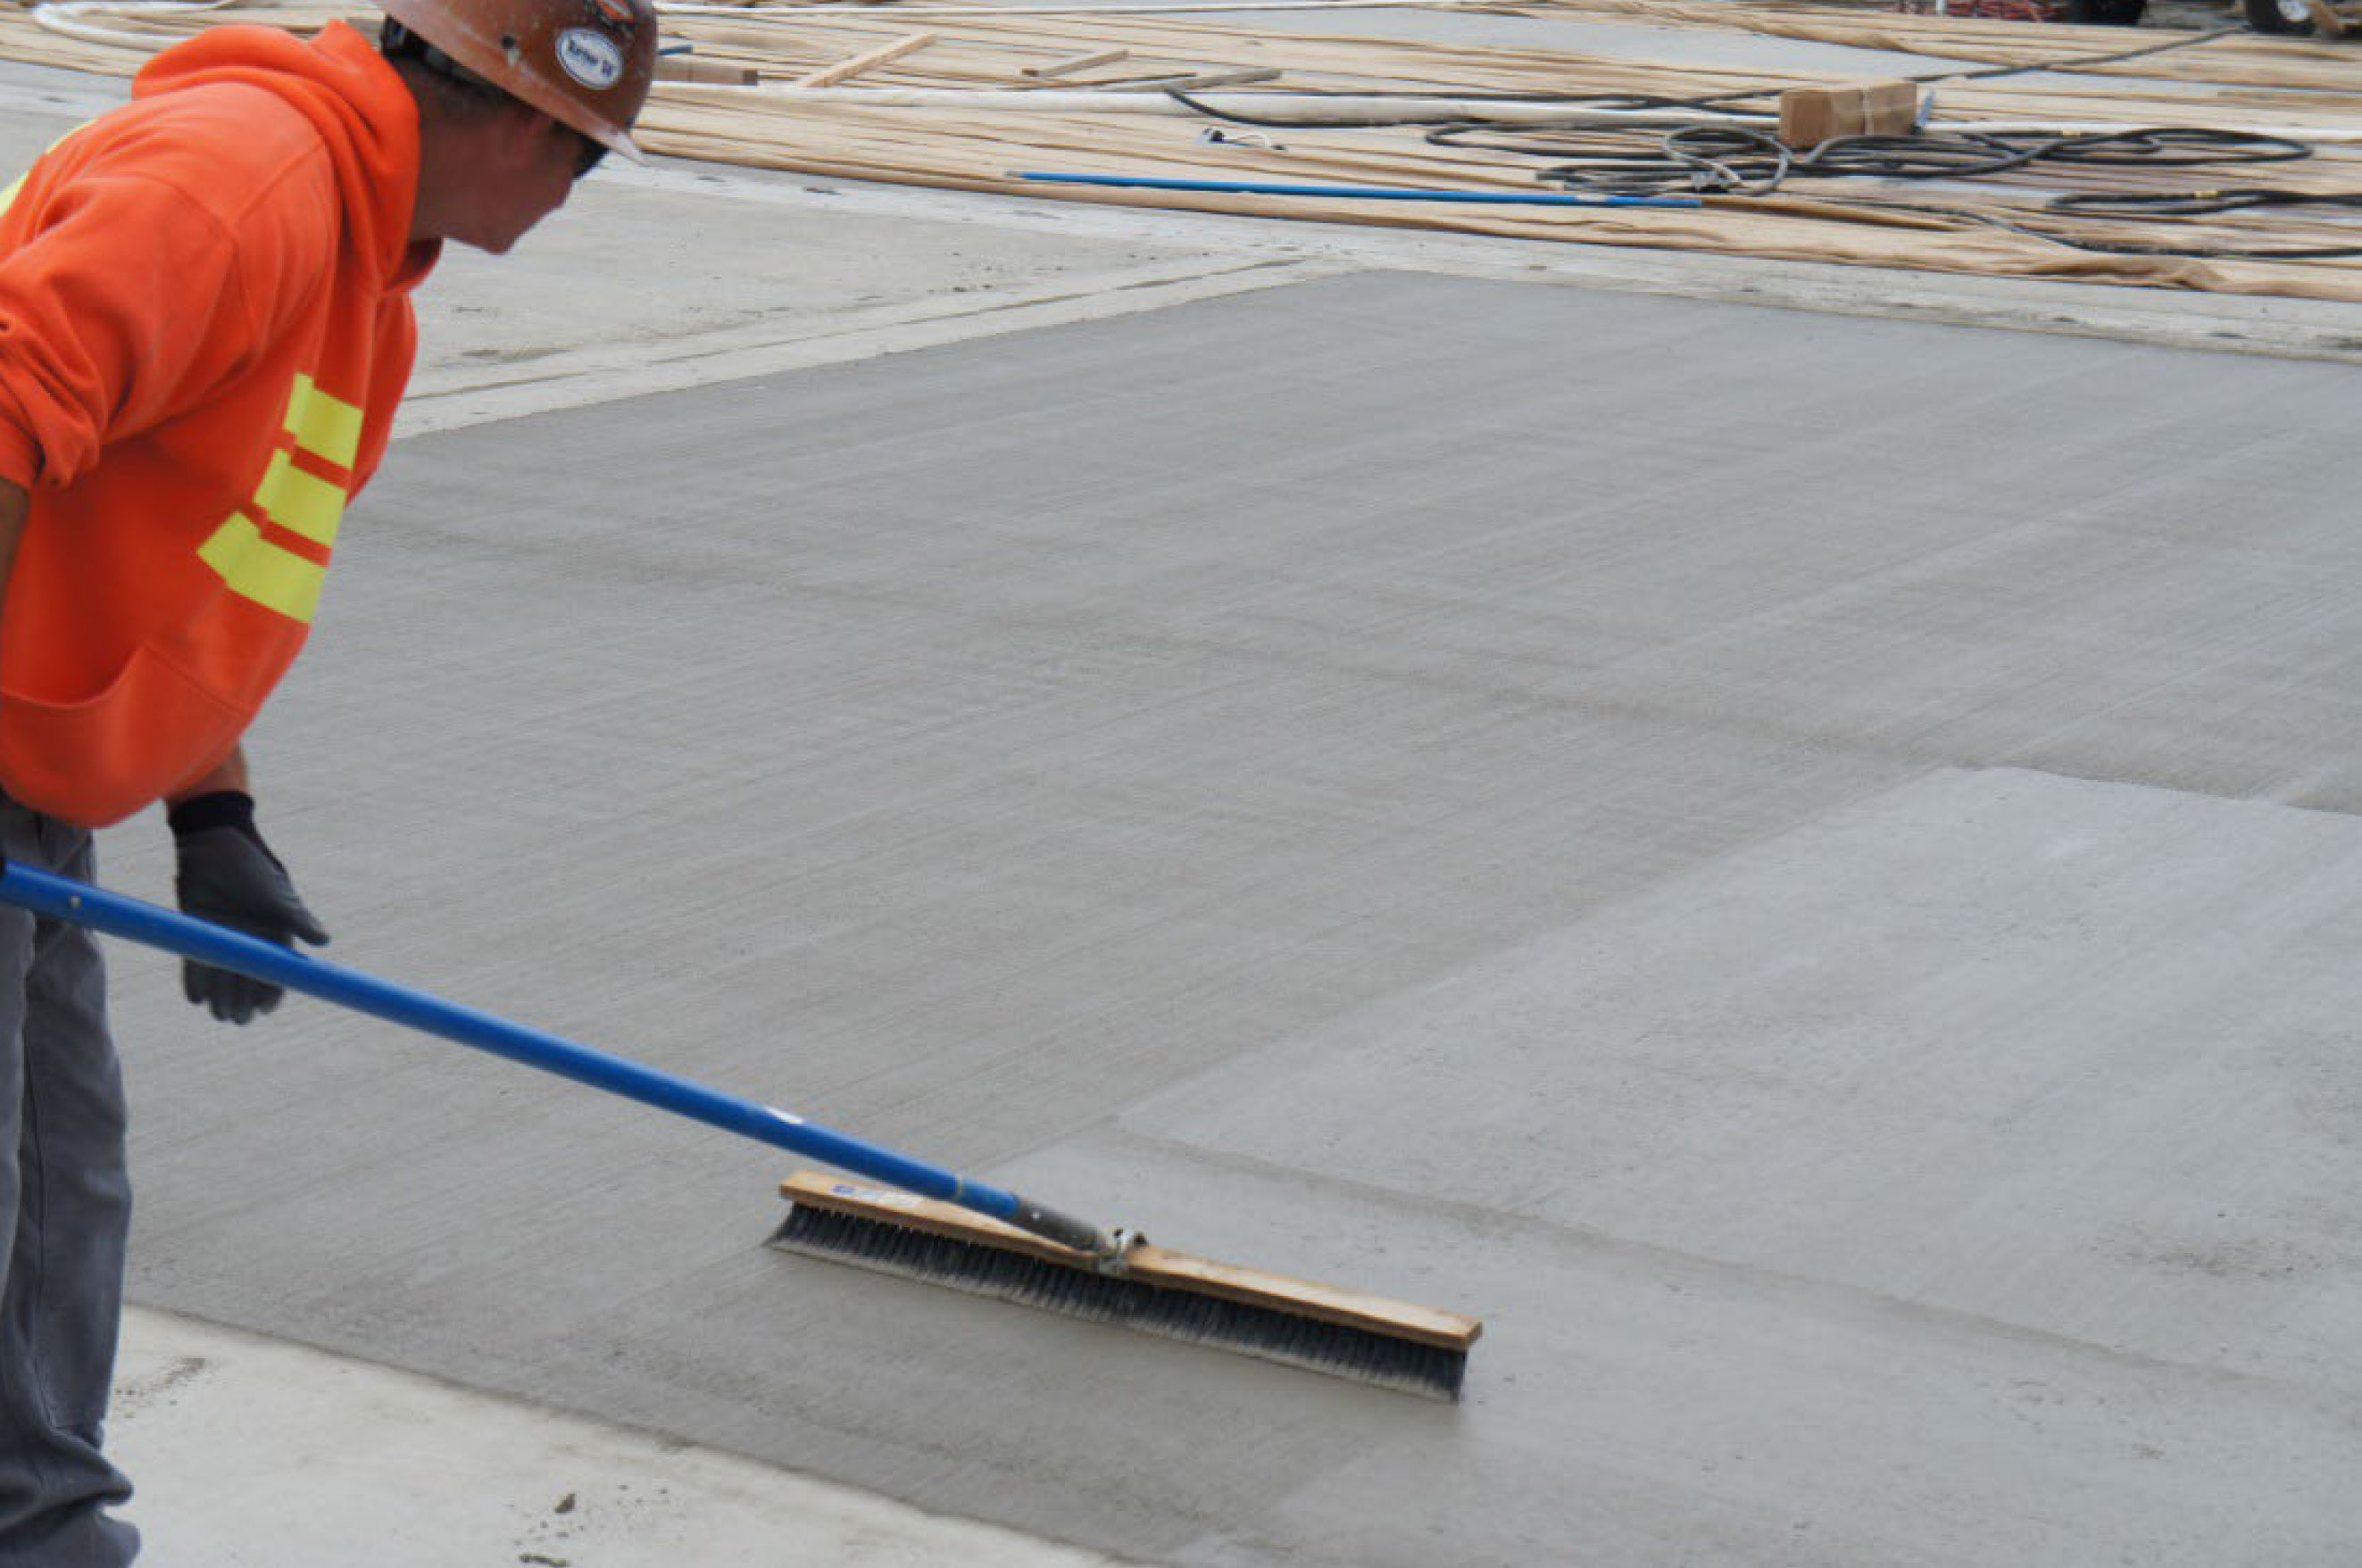
Once all the troweling (glide or steel) is whole the final end may be implemented to the concrete. The maximum basic sort of end is known as a "broom finish". A unique broom is pulled across the concrete surface developing a hard textured floor. Other kinds of finishes consist of stamped, textured, or clean trowel to call a few. Let the concrete can relaxation and start to cure (get hard). The curing method lasts 28 days, with the first 48 hours being the most essential. Practice a liquid chemical curing and sealing compound to help the concrete cure slowly and flippantly, which facilitates reduce cracks, curling, and floor discoloration. You can start to use your concrete for mild foot site visitors 3 to four days after placement, and you may power and park to your concrete five to 7 days after placement.
Cutting concrete is used at the end of the concrete process to create control joints. These joints help control where cracking occurs due to the concrete drying and shrinking. All cuts should have premeditated spacing. Cutting should only be completed after the concrete has obtained acceptable strength, but before cracking starts to happen internally. Depending on the project, most cutting will be scheduled between six and eighteen hours after the initial pour. If you do not time your cuts correctly, random concrete cracks are often the unwanted side-effect.

Great guys n gals there, courteous, professional, go that extra mile, quickly get you in and out. Lots of HQ machines there built for heavy duty operation, as always checking the oil is essential!
The guys at Quesco Quality Equipment Services are the best in the business. I highly recommend Quesco. They are very knowledgeable about each of their pieces of equipment.

I recommend Quesco Quality Equipment Services for any specialty concrete machine rentals, this is your go-to place in Phoenix Arizona and any of the surrounding areas. Give 'em a call today!